Adorable Knitted Mouse: Perfect Gift
Table of Contents:
- Introduction
- Materials Needed
- Step 1: Casting On
- Step 2: Starting the Increases
- Step 3: Setting up for Decreases
- Step 4: Decreasing the Stitches
- Step 5: Finishing the Body
- Step 6: Making the Ears
- Step 7: Creating the Tail
- Step 8: Assembling the Mouse
- Step 9: Adding the Nose and Whiskers
- Conclusion
How to Knit a Mouse Toy for Your Cat
Cats love to play and interact with toys, and knitting a mouse toy can be a fun and rewarding project for both you and your furry friend. In this tutorial, we will guide you step by step on how to knit an adorable mouse toy that your cat will enjoy playing with. We will cover everything from the materials needed to the assembly of the toy. So, grab your knitting needles, yarn, and let's get started!
Materials Needed
Before you begin knitting the mouse toy, gather the following materials:
- Lightweight DK yarn in a main color
- Contrasting color yarn for details
- Stuffing material
- Darning needle
- 3.5mm crochet hook
- 4mm and 3.5mm knitting needles (circular or straight)
Step 1: Casting On
To start knitting the mouse toy, cast on seven stitches using your preferred method. The longtail cast on method is used in this tutorial, but you can use any method you are comfortable with. Once the stitches are cast on, knit the first row and purl the second row. This sets up the pattern for the following steps.
Step 2: Starting the Increases
The mouse toy pattern requires increases along the center of the rows to shape the toy. In every knit row, you will increase by two stitches. The increases are done by knitting through the front and back of each increased stitch (kfb). Knit two stitches, then knit through the front and back of the next stitch to increase. Repeat this process once more. Knit three stitches to complete the row. On the even rows, simply purl all stitches. Continue increasing by two stitches in each increase row until you have a total of thirty-one stitches on your needles.
Step 3: Setting up for Decreases
Once you have thirty-one stitches on your needles, purl the next even row. This sets up the rows for the decreases that will shape the bottom of the mouse's body. Knit an entire row, then purl an entire row to prepare for the decreases.
Step 4: Decreasing the Stitches
To decrease the stitches, they need to lean in different directions on either side of the center ridge. On the first half of the decrease row, knit one stitch, slip a stitch knitwise, knit a stitch, and pass the slip stitch over (skp). Repeat this decrease seven times. Knit one stitch to start the next half of the decrease row. From here, simply knit two stitches together (k2tog) seven times. Finish the row with a knit stitch. On the next decrease row, start by knitting one stitch, slipping a stitch knitwise, knitting a stitch, and passing the slip stitch over three times. Continue with the decreases as instructed, and you should have eleven stitches on your needles at the end.
Step 5: Finishing the Body
Using a darning needle, pull the working yarn through all of the stitches on your needle and pull it tight to close the body of the mouse. Leave a long tail for sewing up the body later.
Step 6: Making the Ears
To create the ears, cast on three stitches using your preferred method. Each row will be an increase row. Knit through the front and back of the first stitch, then knit across the row. In the next row, knit through the front and back of the first stitch again. Repeat this process until you have seven stitches on your needles. Finish the ears by knitting the last row. Leave a long tail for attaching the ears to the body.
Step 7: Creating the Tail
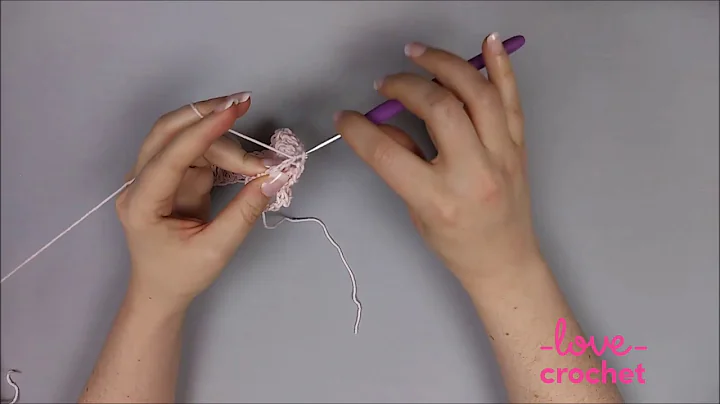
Using a crochet hook, chain 24 stitches to make the tail. Alternatively, you can braid three strands together to make the tail. Tie a slip knot and chain 24 stitches. Pull the stitches through to complete the tail and cut your yarn, leaving enough to attach it to the body.
Step 8: Assembling the Mouse
To assemble the mouse toy, sew the bottom of the body together, leaving a small gap for stuffing. Use the tail ends of the yarn to sew along the edges. Fill the mouse with stuffing to make it nice and plump. Pull the ends of the yarn through and into the body to hide them. Attach the ears on either side of the mouse's head using both threads to ensure they are secure. Sew the tail to the body, passing the needle through both the body and tail for extra security.
Step 9: Adding the Nose and Whiskers
Using the contrasting color yarn, thread it through the cast-on edge of the mouse's body and wrap it around to create a round nose. Tie a knot above the nose and cut the ends. Unravel the ends to create whiskers for your mouse.
Conclusion
Congratulations! You have successfully knitted an adorable mouse toy for your cat. Watch as your furry friend enjoys playing with the toy, but be cautious of their claws getting stuck. Knitting toys for your cat is a fun way to bond and provide them with entertainment. Enjoy knitting!


 WHY YOU SHOULD CHOOSE BEAUTYBADY