Creative Crochet: Barbie Toilet Paper Dress
Table of Contents:
- Introduction
- Choosing the Hat Style
- Materials Needed
- Getting Started with Crocheting the Hat
- Creating the Base Ring
- Working the Increase Rounds
- Continuing with Single Crochet Rounds
- Adding the Decorative Rounds
- Finishing the Hat
- Styling the Hat on Barbie
- Conclusion
Introduction
Welcome back to our Barbie doll crochet series! In this third part, we will be focusing on creating a hat to complement the toilet paper dress cover that we made in the previous tutorials. The hat is an essential accessory to complete the look of Barbie's outfit, and we have two different styles to choose from. Join us as we guide you step-by-step through the process of crocheting the hat, providing useful tips and tricks along the way. Let's get started!
Choosing the Hat Style
Before we begin crocheting, let's take a moment to decide on the style of the hat we want to create. Barbie's hat can either match the main color of her dress and be outlined with a secondary color, or it can have the main color as the secondary color of the dress and vice versa. Both options are equally stunning, so choose the one that appeals to you the most. Whether you go for a coordinated or contrasting look, your hat is sure to add an extra touch of elegance to Barbie's ensemble.
Materials Needed
To crochet the hat, you will need the following materials:
- 4mm crochet hook
- Yarn in your chosen colors
- Scissors
- Tapestry needle
Gather these supplies before we move on to the next step. Once you have everything ready, we can jump right into crocheting the hat.
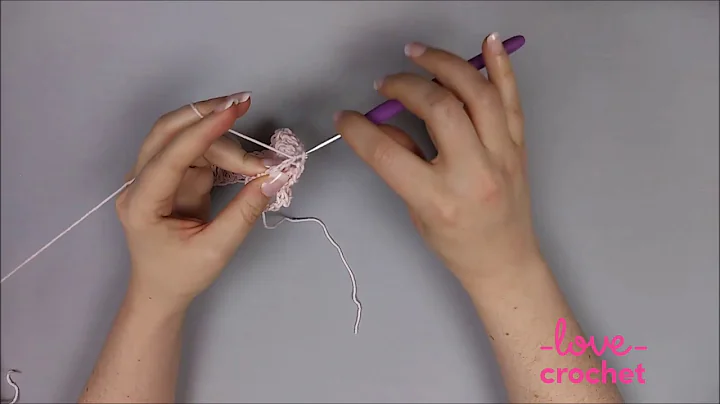
Getting Started with Crocheting the Hat
- Begin by making a slip knot on your crochet hook.
- Chain 5 and join with a slip stitch to form a small ring.
- Chain 1 and work 10 single crochet stitches into the ring, making sure to work over the tail of the yarn.
- Once you have completed the round, join with a slip stitch to the first chain and tighten the slip stitch.
Follow these instructions to create a solid base for your hat. The next steps will guide you through the process of working the increase rounds and adding decorative rounds. So let's dive in!
Creating the Base Ring
Start by working two single crochet stitches into each single crochet of the previous round, resulting in a total of 20 single crochet stitches. Continue working in a spiral without slip stitching or chaining between rounds. These initial rounds may feel tight, but the tension will loosen as you progress.
Working the Increase Rounds
Round 3: Single crochet into the first single crochet, followed by a single crochet into the next 3 stitches. Work 2 single crochet stitches into the next stitch. Repeat this pattern of 1 single crochet into the next 4 stitches, followed by an increase of 2 single crochet stitches, until you reach the last single crochet of the round.
Continue this pattern for a total of six rounds. By gradually increasing the number of stitches, you will create a gently flared shape for the hat.
Continuing with Single Crochet Rounds
For the next six rounds, work one single crochet stitch into each single crochet stitch of the previous round. Maintain a consistent tension throughout and enjoy the meditative rhythm of crocheting in a continuous spiral. These rounds will shape the body of the hat and provide a solid foundation for the decorative rounds.
Adding the Decorative Rounds
Round 11: In this round, we will create a textured pattern by single crocheting into the front loop only of each stitch. This will result in ridges that give the hat a distinct look. Follow the pattern of single crocheting into the front loop, chaining three, and skipping one stitch. Repeat this pattern all the way around the hat. Slip stitch to the first single crochet and the first chain to complete the round.
Rounds 12-17: Repeat the process of single crocheting, chaining five, and skipping one stitch for the next six rounds. These rounds will add depth and visual interest to the hat, creating a delicate and intricate design.
Finishing the Hat
To finish the hat, make a slip stitch into the first single crochet and fasten off. Weave in any loose ends to ensure a clean and polished look.
Styling the Hat on Barbie
Now that your beautiful hat is complete, it's time to style it on Barbie. Place the hat on her head, angling it slightly to one side for a sophisticated look. You can also fold the brim to create a Southern belle-inspired style. To ensure Barbie stands upright, you can stuff toilet paper inside her dress. Adjust the hat and fluff out the sides for added volume. Step back and admire how the hat completes Barbie's ensemble and elevates her overall appearance.
Conclusion
Congratulations! You have successfully crocheted a stunning hat to go along with Barbie's toilet paper dress cover. By following this tutorial, you have learned different techniques and stitches in crochet. Experiment with different color combinations and let your creativity shine. We hope you enjoyed this crochet series and that your Barbie dolls look fabulous in their new outfits. Thank you for joining us, and happy crafting!
Highlights:
- Create a beautiful hat to complement Barbie's toilet paper dress cover
- Two different hat styles to choose from: coordinated or contrasting
- Learn step-by-step instructions for crocheting the hat
- Add decorative rounds to make the hat unique and visually appealing
- Style the hat on Barbie for a stylish and elegant look
- Show off your completed project on social media and join the crochet community
FAQs:
Q: Can I use a different size crochet hook for this project?
A: It is recommended to use a 4mm crochet hook for this specific hat pattern to achieve the desired size and fit. However, you can experiment with different hook sizes to create variations in the hat's size and texture.
Q: How do I adjust the hat's size for different doll heads?
A: If you need to adjust the hat's size for dolls with different head sizes, you can modify the number of rounds in the increase and single crochet sections. Consider making a practice hat using a scrap yarn to test the fit before starting with your desired yarn.
Q: Can I make this hat for other dolls or toys?
A: Absolutely! This hat pattern can be easily adjusted to fit other dolls or toys by modifying the starting chain and following the instructions for the increase and single crochet rounds. Keep in mind the dimensions of the head you are working with and make any necessary modifications.
Q: Can I use different yarn weights for this project?
A: While this pattern is designed for a specific yarn weight, you can experiment with different weights to achieve different results. Thinner yarn will create a smaller, more delicate hat, while thicker yarn will yield a larger, chunkier hat. Just ensure that your hook size matches the yarn weight for the best results.
 Beauty


 WHY YOU SHOULD CHOOSE BEAUTYBADY