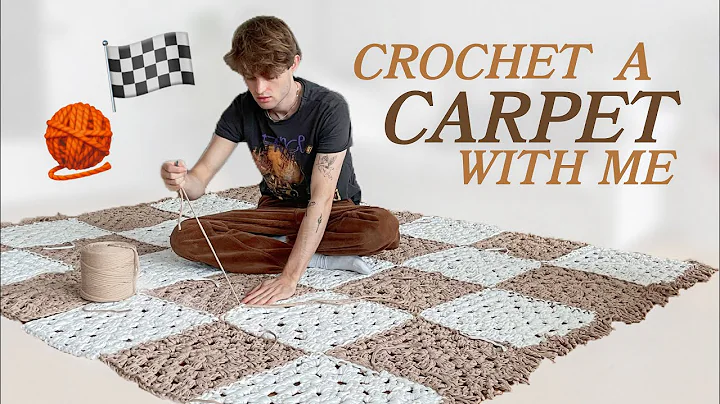
Learn How to Create a Gorgeous Crochet Bandana Cowl at Sunset
Find Beauty&Makeup — it's free Beauty
Makeup
Personal Care
Beauty
Makeup
Personal Care


Are you spending too much time on makeup and daily care?
- Beauty
- 1M+
- Makeup
- 5M+
- Personal care
- 800K+
 WHY YOU SHOULD CHOOSE BEAUTYBADY
BEAUTYBADY has the world's largest selection of Beauty&Makeup to choose from, and each Beauty&Makeup has a large number of Beauty&Makeup, so you can choose Beauty&Makeup for beauty bady!
Browse More Content
Beauty
Makeup
Skincare
Body Care
Face Care
Lips Care
Eye Care
Hair Care
Nail Care
Related Articles


Refresh Articles
