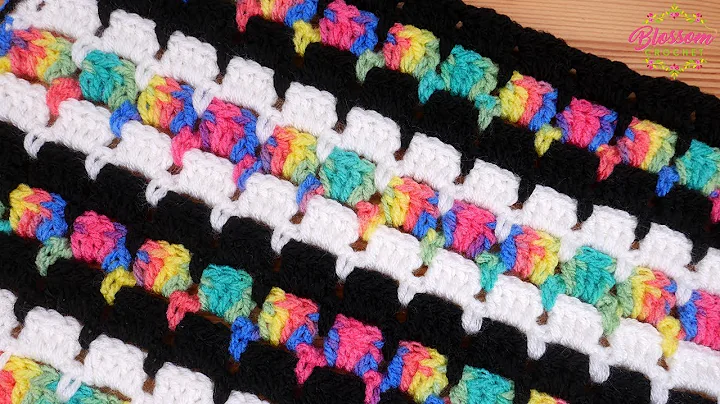
Master the Mile A Minute Crochet Pattern with this Step-by-Step Tutorial
Table of Contents:
- Introduction
- Materials Needed
- Step-by-Step Instructions
3.1. Choosing the Right Yarn and Needle
3.2. Understanding the Right and Wrong Side of Crochet
3.3. Making Single Crochets
3.4. Creating Circles with Single Crochets
3.5. Connecting the Circles
3.6. Adding Chains for the Edges
3.7. Continuing the Pattern
3.8. Finishing Off the Project
- Conclusion
Crochet Circles: How to Connect and Create Beautiful Designs
Introduction
Welcome to another exciting crochet tutorial! In this article, we will explore the process of connecting crochet circles to create stunning designs. Whether you're a beginner or an experienced crocheter, this step-by-step guide will help you master the art of connecting circles with ease. So gather your materials and let's get started on this exciting crochet journey!
Materials Needed
Before diving into the process, let's gather all the necessary materials. You will need the following items:
- Yarn: Choose a medium brown yarn for this project, preferably available at stores like Walmart or Michaels. The specific shade is not critical, so feel free to explore various options.
- Crochet Needle: Use a 5.0 crochet needle, available at craft stores or anywhere that sells yarn.
Step-by-Step Instructions
3.1 Choosing the Right Yarn and Needle
First and foremost, select the medium brown yarn you have chosen for your project. Remember, it's not crucial to have the exact color mentioned earlier. Additionally, grab a 5.0 crochet needle that matches your chosen yarn. These items can be found at stores like Walmart or Michaels.
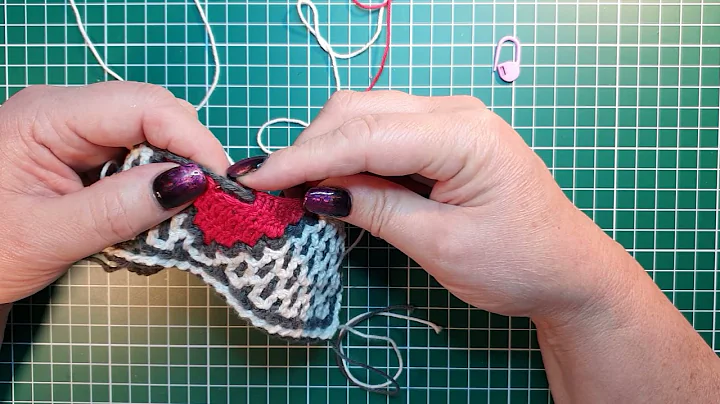
3.2 Understanding the Right and Wrong Side of Crochet
It's essential to distinguish between the right and wrong side of crochet before we begin. The right side appears smooth and well-defined, while the wrong side is rougher and less defined. To ensure a neat and aesthetically pleasing outcome, always work on the right side of the crochet.
3.3 Making Single Crochets
To connect the circles, start with the single crochet stitch. Begin by inserting the crochet needle through the top of the circle, ensuring you are working on the right side. Make three single crochets in total on this chain stitch.
3.4 Creating Circles with Single Crochets
Next, create six single crochets in the next stitch across. This will give your design a circular shape and connect multiple circles. Ensure each single crochet lines up perfectly with the previous stitch.
3.5 Connecting the Circles
Moving forward, continue the pattern by making three single crochets in the next chain stitch. Hold onto the circles as you work to maintain control over their placement. Now, insert the needle into the following chain stitch and connect it with the bottom of the other circle on the opposite side. Pull the yarn through and repeat the process, aligning the circles and making three single crochets.
3.6 Adding Chains for the Edges
Once you have connected the circles, add chains to create the desired edge. Make three chain stitches and go into the next chain stitch, aligning it with the bottom of the adjacent circle. Pull the yarn through and create three single crochets again. Repeat this process across the pattern, always aligning the circles and maintaining consistency in the number of stitches.
3.7 Continuing the Pattern
As you progress with your design, keep repeating the previous steps. Line up the circles, connect them with single crochets, add chains for the edges, and ensure everything is aligned. This will create a harmonious pattern as you build your project.
3.8 Finishing Off the Project
After continuous circles and connecting them, you are nearing the final stages of your project! Finish off by making three more single crochets to form a square edge. To complete the pattern, tie off the yarn and secure it at the back of your work. Congratulations! You have successfully connected crochet circles to create a beautiful design.
Conclusion
Crochet circles provide endless possibilities for creating unique and visually appealing designs. With this step-by-step guide, you are now equipped to experiment with combining crochet circles and unleashing your creativity. Remember, practice makes perfect, so keep honing your skills and explore various color combinations and patterns. Happy crocheting!
Highlights:
- Learn how to connect crochet circles to create beautiful designs
- Master the art of aligning circles and maintaining consistency in stitch counts
- Choose the right yarn and needle for a polished outcome
- Add chains for edges to enhance the design
- Practice and experiment with different color combinations and patterns
FAQ:
Q: Can I use different colors for the circles?
A: Absolutely! Feel free to experiment with various color combinations to create unique and vibrant designs.
Q: Do I need prior crochet experience to connect circles?
A: Basic knowledge of crochet stitches will be helpful, but beginners can also follow the step-by-step instructions to learn and practice the technique.
Q: Are there other uses for connected crochet circles?
A: Yes! Once you master the art of connecting circles, you can incorporate them into various projects like blankets, scarves, or even garments to add an intriguing visual element. Be creative and explore different possibilities.
Q: How long does it take to complete a project using connected crochet circles?
A: The duration largely depends on your crochet speed and the size of the project. Start with smaller designs to get acquainted with the process and gradually move on to larger projects.
 Beauty


 WHY YOU SHOULD CHOOSE BEAUTYBADY