Step-by-Step Guide: Crochet the Perfect Barbie Sweater
Table of Contents:
- Introduction
- Materials Needed
- Crocheting the Sleeves
3.1. First Sleeve
3.2. Adding Chains for the Front and Back
3.3. Second Sleeve
- Creating the Front and Back of the Sweater
4.1. Making Rows of Single Crochets
4.2. Dividing for the Neck Opening
4.3. Completing the Rows for the Front and Back
- Stitching the Side Seams
- Finishing the Edges
6.1. Adding the Bottom Edge
6.2. Creating the Neckline and Sleeve Edges
- Optional Decoration - Adding Buttons
- Conclusion
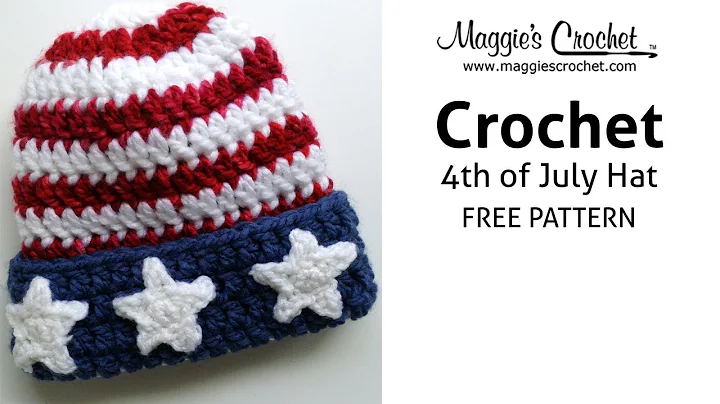
How to Crochet a Cozy Barbie Sweater
The article will guide you through the process of crocheting a cozy and warm sweater for your Barbie doll. With step-by-step instructions and clear explanations, you'll be able to create a beautiful outfit that will keep Barbie stylish and snug during the winter season. This project is suitable for beginners and requires basic crochet skills. So grab your crochet hook and let's get started!
1. Introduction
Barbie dolls are timeless and beloved toys that have brought joy to children for generations. Crocheting clothes for these dolls allows for creativity and personalization, making them even more special. In this article, we will focus on crocheting a cozy sweater for Barbie, perfect for keeping her stylish and warm during the winter months.
2. Materials Needed
Before we begin, let's gather all the materials required for this project. Here's what you'll need:
- Alize Bella cotton yarn (Category 2, fine size), preferably in white
- Lion Brand Bomb-Bomb yarn in a contrasting color, such as pink (optional)
- 2.75-millimeter crochet hook
- Small buttons (optional)
- Scissors
- Yarn needle
3. Crocheting the Sleeves
We'll start by crocheting the sleeves of Barbie's sweater. The sleeves will be worked separately and then joined to the front and back panels. This will create a seamless and comfortable fit for Barbie.
3.1. First Sleeve
To begin, create a slip knot and chain 15 stitches. Add one more chain for turning, making a total of 16. Then, single crochet in each chain, resulting in 15 single crochet stitches. Chain one and turn.
3.2. Adding Chains for the Front and Back
In the following rows, work in the front loops only to create a textured pattern. Continue making single crochets in the front loops for a total of 12 rows, creating vertical stripes for the sweater.
Next, add 19 chains on both sides of the sleeve to create the front and back panels. After completing the chains, continue single crocheting in the front loops of the sleeve. Repeat the same process for the other side of the sleeve.
3.3. Second Sleeve
For the second sleeve, repeat the same steps as the first sleeve. However, remember to add one extra row to ensure proportionality.
Once both sleeves are completed, fasten off and secure any loose ends. Fold the sweater in half and stitch the side seams using a whip stitch.
4. Creating the Front and Back of the Sweater
Now let's focus on crocheting the front and back panels of the sweater. This will involve working rows of single crochets and creating a neck opening.
4.1. Making Rows of Single Crochets
Start with one corner of the sweater and make 53 single crochets across. Continue crocheting 53 stitches for a total of 14 rows on the front panel and 15 rows on the back panel. This will create a symmetrical design.
4.2. Dividing for the Neck Opening
After completing the rows, it's time to divide the sweater for the neck opening. Make 21 stitches for the back, then chain 11 stitches for the neck opening. Skip 11 stitches and continue with single crochets for the front panel.
4.3. Completing the Rows for the Front and Back
Continue working single crochets in each stitch for the back panel. For the front panel, crochet 21 stitches, then chain one and turn. Work single crochets in the front loops, including the stitches for the neck opening. This will create a neat and comfortable fit.
5. Stitching the Side Seams
Fold the sweater in half to stitch the side seams. Use a whip stitch to join the sides securely. This will complete the main body of the sweater.
6. Finishing the Edges
To give the sweater a polished look, we'll add edging to the bottom, neckline, and sleeves.
6.1. Adding the Bottom Edge
Create a slip knot and join your main color yarn near the side seam of the sweater. Insert your hook into the edge stitch and make a single crochet. Continue making single crochets along the entire bottom edge. Slip stitch into the first stitch to complete the round. Fasten off and weave in any loose ends.
6.2. Creating the Neckline and Sleeve Edges
Using your accent color yarn, join it near the seam of the back panel. Make single crochets in the designated spaces to create a neat neckline. For the sleeve edges, use slip stitches in the spaces to prevent excess bulkiness. Finish off and weave in any remaining ends.
7. Optional Decoration - Adding Buttons
For an extra touch of style, you can decorate the sweater with small buttons. Choose buttons that complement the color and design of your sweater. Sew them onto the front panel to add a cute and fashionable element to Barbie's outfit.
8. Conclusion
Congratulations! You have successfully crocheted a cozy sweater for your Barbie doll. It's time to try it on and see how adorable Barbie looks with her new winter outfit. This project not only allows you to showcase your crochet skills but also gives Barbie a personalized and fashionable wardrobe. Enjoy this creative process and have fun dressing up Barbie in your handmade creations. Happy crocheting!
 Beauty


 WHY YOU SHOULD CHOOSE BEAUTYBADY